How to Calibrate Honeywell Thermostat (Under 10 Minutes)
Is your home’s temperature off by up to 5 degrees Fahrenheit? Learning how to calibrate Honeywell thermostat settings might be the solution you need.
In fact, an improperly calibrated thermostat can force your HVAC system to work harder than necessary, leading to increased energy consumption and premature wear and tear on your equipment. That’s why regular thermostat calibration is crucial – it helps maintain consistent temperatures while reducing your utility bills.
Fortunately, whether you have a digital model with menu settings or an older version with a calibration screw, we’ll show you how to calibrate your Honeywell thermostat in under 10 minutes. Let’s get your home’s temperature back on track!
Understanding Thermostat Calibration Basics
Thermostat calibration ensures your device accurately reads and controls room temperature. When properly calibrated, your thermostat maintains consistent temperatures throughout your home while optimizing energy usage.
What is thermostat calibration
Thermostat calibration aligns your device’s temperature reading with the actual room temperature. Over time, thermostats can lose accuracy due to various factors, including dust buildup, mechanical wear, or accidental bumps. A well-calibrated thermostat helps your HVAC system operate efficiently, preventing unnecessary cycling and reducing energy consumption.
Signs your Honeywell thermostat needs calibration
Several indicators suggest your thermostat requires calibration:
- Temperature readings differ by more than 1°F when compared to a reliable thermometer
- Your HVAC system cycles on and off more frequently than 2-3 times per hour
- Energy bills show unexpected increases without changes in usage patterns
- Room temperatures fluctuate significantly despite consistent settings
- Different areas of your home show noticeable temperature variations
Tools needed for calibration
For accurate thermostat calibration, gather these essential items: A reliable thermometer serves as your primary reference tool. Additionally, you’ll need a small screwdriver for accessing calibration mechanisms. Some Honeywell models require specific calibration tools, particularly for mechanical thermostats. Furthermore, keep your thermostat’s manual handy as calibration procedures vary between models.
Before starting the calibration process, ensure your thermometer is positioned correctly – about a few inches from your thermostat and away from direct sunlight or drafts. This placement guarantees accurate temperature comparison during the calibration process.
Digital Honeywell Thermostat Calibration
Modern digital Honeywell thermostats offer precise temperature control through menu-based calibration. Following specific steps ensures accurate adjustment of your device’s temperature readings.
Accessing calibration settings menu
For most digital Honeywell models, access the calibration menu through these steps:
- Press and hold the Menu button and plus sign together for 5 seconds
- Navigate to Preferences or Settings
- Look for “Indoor Display Offset” or “Temperature Offset” option
- Select the offset option to begin adjustments
Temperature offset adjustment steps
After accessing the offset settings, adjust the temperature reading by modifying the offset value. The default setting shows 0, indicating no adjustment. Subsequently, you can adjust the offset between -1.5°C to +1.5°C in 0.5-degree increments. First, determine the difference between your thermostat reading and actual room temperature, afterward input the appropriate offset value.
Verifying calibration accuracy
Place a reliable thermometer approximately few inches from your thermostat. The readings between your thermometer and thermostat should not differ by more than 1°F. If readings match within this range, your calibration is successful.
Should inconsistencies persist, power off the thermostat at the breaker for 5 minutes. Upon restart, check if the calibration holds. Remember that modified temperature offsets typically take about 10 minutes to display on both the thermostat screen and connected apps.
Mechanical Honeywell Thermostat Calibration
Older Honeywell thermostats rely on mechanical components for temperature control, requiring specific calibration techniques to maintain accuracy.
Locating calibration mechanisms
Mechanical Honeywell thermostats contain a heat anticipator adjustment lever arm, which controls when the furnace turns off. This crucial component sits inside the thermostat housing and requires careful handling for precise adjustments.
Manual adjustment techniques
The heat anticipator fine-tunes your furnace’s operation through these steps:
- Remove the thermostat cover carefully
- Locate the heat anticipator lever arm
- Identify the “longer” marking on the calibration scale
- Adjust the lever based on heating patterns:
- Move away from “longer” if cycling occurs too frequently
- Move toward “longer” if temperature varies significantly
Testing and fine-tuning
After initial adjustments, monitor your system’s performance for two to three hours. The furnace should maintain consistent temperatures without frequent cycling. Moreover, if temperature inconsistencies persist, make additional single-mark adjustments in the appropriate direction.
For optimal results, position yourself away from the thermostat during testing, as body heat can affect temperature readings. Specifically, the furnace should operate steadily without rapid on-off cycles. If problems continue after multiple adjustment attempts, the thermostat might require professional evaluation or replacement.
Remember to check the back of the thermostat for system-specific switches that might affect calibration. These switches ensure proper operation based on your heating system type. Accordingly, verify these settings match your system specifications before making any calibration adjustments.
Troubleshooting Common Calibration Issues
Even with proper calibration attempts, Honeywell thermostats occasionally encounter operational issues that require specific troubleshooting approaches.
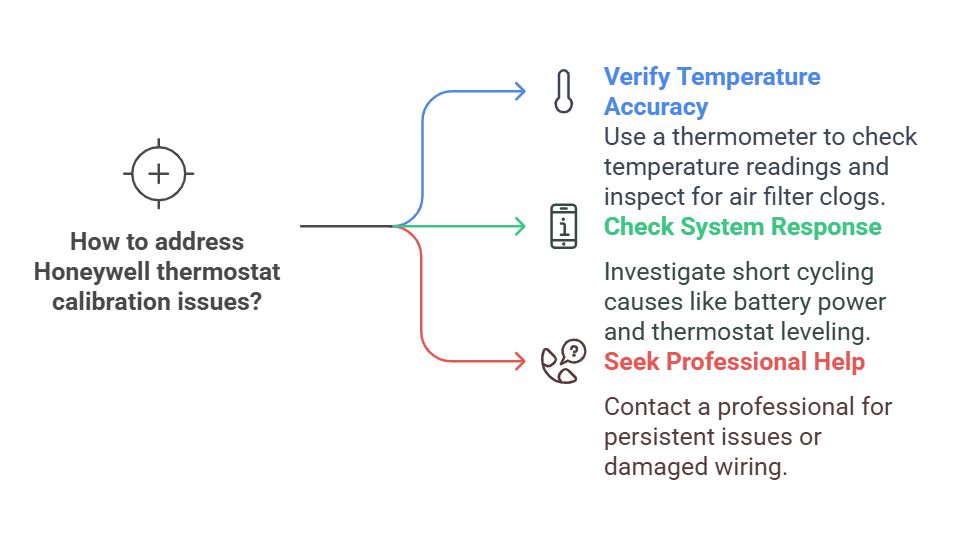
Temperature reading inconsistencies
Initially, verify temperature accuracy by placing a reliable thermometer near your thermostat. Readings shouldn’t differ by more than 1°F. Alternatively, if variations persist, check for common interference factors. A clogged air filter can disrupt temperature readings, primarily affecting the cold air return area. Consequently, dust accumulation inside the thermostat housing might interfere with sensor functionality.
System response problems
Short cycling remains a frequent calibration-related issue, where your HVAC system turns on and off rapidly. This behavior often indicates the thermostat is trying to compensate for miscalibration. Check these potential causes:
- Low battery power affecting digital display accuracy
- Loose panels on furnace cabinet triggering safety switches
- Improper thermostat leveling, especially crucial for mercury-based models
When to seek professional help
Professional intervention becomes necessary under these circumstances:
- Temperature readings continue to stray after multiple calibration attempts
- System response problems persist despite troubleshooting
- Wiring appears damaged or loose
- Thermostat location causes persistent temperature fluctuations
Nevertheless, before calling a professional, ensure your thermostat settings match your desired mode – ‘cool’ or ‘heat’ rather than ‘off’. Ultimately, if temperature inconsistencies continue affecting your comfort and energy bills, scheduling a professional inspection ensures proper diagnosis and resolution.
Important Note: Regular maintenance checks help prevent most calibration issues. Schedule annual thermostat testing, preferably in fall, to maintain optimal performance.
Conclusion
Proper thermostat calibration stands essential for maintaining comfortable temperatures while keeping energy costs low. Whether you own a digital or mechanical Honeywell thermostat, regular calibration helps prevent system strain and unnecessary energy waste.
Most calibration issues resolve through simple adjustments and basic troubleshooting steps. Though digital models offer menu-based calibration, mechanical thermostats need careful manual adjustments. Remember to check for common interference factors like dust buildup or incorrect placement before making any changes.
Regular maintenance checks remain vital for optimal thermostat performance. Schedule annual inspections during fall to catch potential issues early. Should temperature inconsistencies persist after following these calibration steps, professional HVAC technicians can diagnose and fix complex problems, ensuring your home stays comfortable year-round.