Save $200: How to Install a Honeywell Non Programmable Thermostat Yourself
Did you know that the average homeowner spends about 40% of their energy bill just on heating? That’s a significant chunk of change going straight to keeping your home comfortable.
However, here’s some good news: installing a Honeywell non-programmable thermostat yourself can be a smart money-saving move. In fact, this budget-friendly DIY project typically takes less than 2 hours to complete, and you’ll save around $200 by doing it yourself rather than calling a professional.
We understand that the thought of installing a thermostat might seem daunting at first. That’s why we’ve created this comprehensive guide to walk you through every step of installing your Honeywell non-programmable thermostat. From basic wire connections to final testing, we’ll show you exactly how to complete this project safely and effectively.
Ready to take control of your home’s temperature and your wallet? Let’s get started with the installation process!
Understanding Your Non Programmable Honeywell Thermostat
Honeywell offers several non-programmable thermostat models, each designed for specific heating and cooling needs. From basic manual controls to digital displays, these thermostats provide straightforward temperature management without complex programming requirements.
Different Models and Their Features
The RTH111B model offers fundamental temperature control with a horizontal design and digital display. Additionally, the RTH5160 includes a backlit screen for better visibility and precise single-degree control. For those preferring classic designs, the CT87N model features the iconic round shape with simple heat and cool settings.
Compatibility with Your HVAC System
These non-programmable thermostats work with various heating and cooling setups. Specifically, most models support:
- Single-stage heating and cooling systems
- Heat pumps with or without auxiliary heat
- Hot water and steam systems
- Gas or oil furnaces
- Electric heating systems
Furthermore, certain models like the RTH5160 include auto-change capabilities between heating and cooling modes, maintaining your preferred temperature settings even during power outages.
Tools and Materials Needed
To complete this installation successfully, you’ll need these essential tools:
- Phillips head screwdriver
- Small flat-head screwdriver
- Wire stripper
- Voltage tester
- Level
- Pliers
- Electrical tape
- Pencil
Notably, while most installations require basic tools, some situations might need additional equipment based on your specific setup. The installation package includes mounting hardware and a quick installation guide to help you through the process.
Before starting the installation, verify that your chosen model matches your HVAC system’s specifications. This preliminary check helps prevent compatibility issues and ensures smooth installation.
Safety First: Preparing for Installation
Safety comes first when working with any electrical component. Proper preparation and precautions prevent accidents and protect both you and your HVAC system during installation.
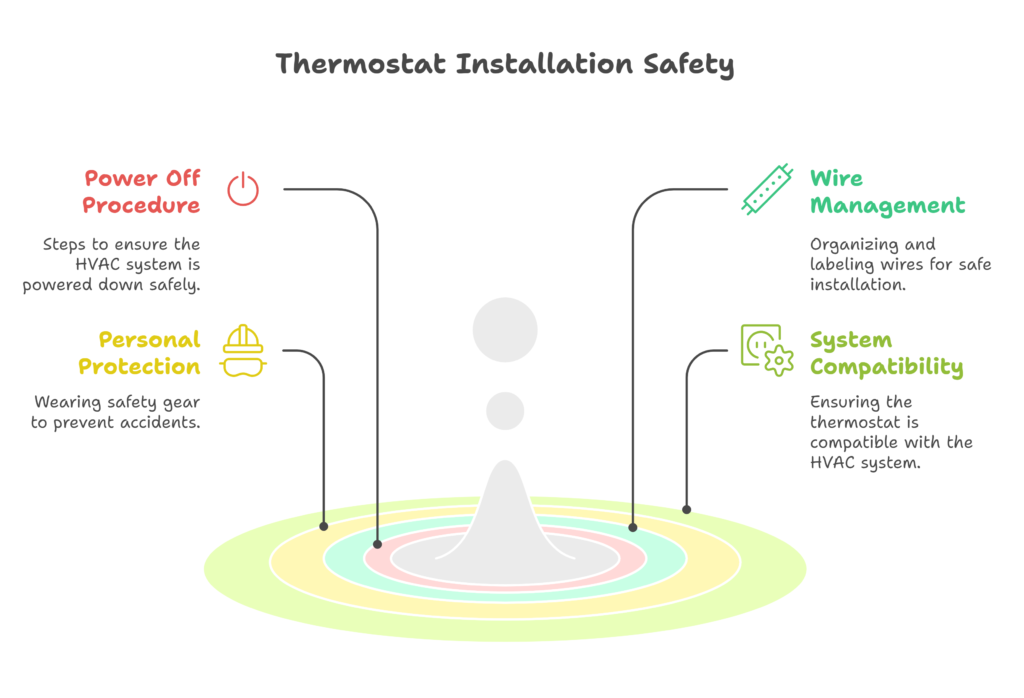
Shutting Off Power Correctly
First thing to remember, locate your main service panel and turn off the circuit breaker that controls your HVAC system. Subsequently, verify the power is completely off using these steps:
- Turn your thermostat to its highest setting
- Wait 20 minutes to confirm no response from your heating system
- Touch your heating unit to verify it’s cold
- Use a voltage meter for final confirmation
Removing Old Thermostat Safely
Once power is confirmed off, start the removal process. Take a clear photo of your existing wire connections before disconnecting anything. This photo serves as a valuable reference during new thermostat installation.
Remove the faceplate of your old thermostat carefully. If it’s been painted over, use appropriate tools to gently pry it loose. Essentially, you’ll need to:
- Unscrew the mounting hardware
- Label each wire with tape
- Carefully separate wires from the mounting plate
Essential Safety Precautions
Primarily focus on protecting yourself and your equipment. Wear protective gear including gloves and safety goggles when handling electrical components. Keep these critical safety points in mind:
Never install a thermostat on circuits exceeding manufacturer-specified voltage limits. Accordingly, check your system’s compatibility before proceeding. Moreover, ensure your hands remain dry throughout the installation process.
When handling wires, avoid direct contact with exposed conductors. If you notice any damaged or frayed wiring, stop immediately and consult a professional. Store removed screws and hardware in a safe place to prevent loss during installation.
Remember that incorrect wiring or improper installation might damage your HVAC system’s control board. Double-check all connections and maintain a clean, organized workspace throughout the process.
Step-by-Step Wiring Guide
Proper wire connections form the foundation of a successful thermostat installation. Let’s decode the wiring system to ensure your Honeywell non-programmable thermostat functions correctly.
Understanding Wire Colors and Terminals
The wiring system follows a standardized color scheme, though variations exist. Generally, each wire serves a specific purpose:
- Red Wire (R/Rh/Rc): Delivers 24V power to the thermostat
- White Wire (W): Controls the heating system
- Yellow Wire (Y): Connects to the cooling compressor
- Green Wire (G): Controls the fan
- Blue or Black Wire (C): Provides continuous power
- Orange Wire (O/B): Controls heat pump operation
Making Proper Wire Connections
Following a systematic approach ensures accurate connections. Initially, identify the terminals on your new thermostat’s mounting plate. Primarily focus on matching wires to their corresponding terminals rather than relying solely on colors.
- Start with the R wire connection:
- Place single R wire into the R terminal
- For dual red wires, connect Rh to R and Rc to RC
- Maintain any jumper connections between R and RC terminals
- Connect the C wire (if present) to complete the power circuit
- Attach the G wire to the G terminal for fan control
- Connect Y or Y1 wire to the Y terminal
- Place the W wire in the W terminal for heating control
Important: For heat pump systems with O/B wires, particularly note that these connections might vary. Tape off any B wire if you have separate O and B wires.
Double-Checking Your Work
Verification prevents potential issues and ensures proper operation. Start by examining each connection point:
- Confirm wire ends are stripped properly
- Check for secure terminal connections
- Verify no exposed copper beyond terminal points
- Ensure no loose wire strands
Particularly focus on the R and C wire connections, as these power your thermostat. Following proper connection, take a photo of your completed wiring for future reference. This documentation proves valuable for maintenance or troubleshooting.
Remember that incorrect wiring might damage your HVAC system’s control board. Consequently, if you encounter any uncertainty during installation, consulting a professional electrician remains the safest option.
Mounting and Testing Your New Thermostat
Selecting the perfect spot for your Honeywell non-programmable thermostat marks the final phase of installation. After completing the wiring, let’s focus on proper mounting and testing to ensure optimal performance.
Proper Wall Placement
Primarily, mount your thermostat approximately 5 feet (1.5m) above the floor in an area with consistent air circulation. After all, proper placement ensures accurate temperature readings and optimal system performance.
Avoid mounting locations near:
- Drafts or dead spots behind doors
- Hot or cold air from ducts
- Direct sunlight or appliance heat
- Concealed pipes or chimneys
- Unheated areas like exterior walls
Securing the Base Plate
In addition to proper placement, secure mounting creates a stable foundation for your thermostat. Follow these steps for a professional installation:
- Position the wall plate with the arrow pointing upward
- Mark mounting holes with a pencil
- Drill 3/16-inch holes for drywall (7/32-inch for plaster)
- Insert wall anchors until flush with the wall
- Feed wires through the central opening
- Secure the base plate with mounting screws
Therefore, push excess wiring back into the wall opening and seal it with fire-resistant material to prevent drafts. Meanwhile, ensure the base plate remains level for both functionality and appearance.
Initial System Testing
Above all, thorough testing confirms proper installation and operation. Begin the testing process by restoring power to your HVAC system. As opposed to rushing through this phase, take time to verify each function:
Press and hold both the Up and Down buttons simultaneously for approximately five seconds to enter the installer test mode. Test the following operations:
- Heating cycle
- Cooling cycle
- Fan operation
- Temperature accuracy
Once testing confirms proper operation, press the reset button to clear any temporary programming. Your Honeywell non-programmable thermostat should now maintain consistent temperature control throughout your home.
Remember that if the thermostat fails to snap securely onto the base plate, double-check the mounting alignment. A properly mounted unit should click firmly into place without any gaps between the thermostat and wall plate.
Troubleshooting Common Installation Issues
Even with careful installation, occasional issues might arise with your new Honeywell non-programmable thermostat. Understanding common problems and their solutions helps maintain optimal performance.
Wire Connection Problems
Loose or incorrect wire connections typically cause most installation issues. Primarily focus on these common wire-related problems:
- Degraded wire insulation causing shorts
- Loose terminal connections
- Incorrect wire placement
- Frayed wire ends
- Exposed copper beyond terminal points
For loose connections, turn off power at the breaker and inspect all wire terminals. Tighten any loose screws and ensure each wire sits firmly in its designated terminal. Ordinarily, damaged wires require complete replacement to prevent safety hazards.
System Not Responding
When your HVAC system fails to respond, start with the basics. Check if the circuit breaker remains in the ‘on’ position. Alternatively, inspect the furnace’s 3-amp fuse, which commonly blows during installation if power wasn’t properly disconnected.
A non-responsive system might indicate transformer issues. The transformer converts household voltage to the 24 volts needed for thermostat operation. If you touched wires while power remained on during installation, you might need to replace either the transformer or the blown fuse.
Important Warning: Never attempt to test wire connections with live power. This action risks damaging your HVAC system’s control board or creating safety hazards.
Temperature Reading Errors
Fundamentally, accurate temperature readings depend on proper thermostat placement and calibration. Evidently, thermostats placed near heat sources or drafts provide false readings. Main factors affecting temperature accuracy include:
- Proximity to air vents
- Direct sunlight exposure
- External wall placement
- Blocked air filters restricting airflow
For sensor errors, mainly focus on resetting your system. Turn off the power at both the furnace and AC breakers. Wait approximately five minutes before restoring power. This process typically resolves most sensor-related issues.
If temperature readings remain inaccurate, examine your air filters. Blocked filters can cause your HVAC system to shut down due to restricted airflow. Clean or replace filters as needed to maintain proper system function.
Pro Tip: For persistent issues, recalibrate your thermostat according to the user manual specifications. This step ensures accurate temperature control and optimal system performance.
Conclusion
Installing a Honeywell non-programmable thermostat proves simpler than most homeowners expect. Through careful attention to safety protocols, proper wire connections, and correct mounting procedures, this DIY project becomes manageable for anyone with basic tools.
Success depends on following each step carefully – starting with power disconnection, moving through precise wire connections, and ending with thorough system testing. Though challenges might arise during installation, most issues resolve through basic troubleshooting steps.
Remember that proper placement and accurate wire connections determine your thermostat’s performance. After completing the installation, take time to verify all connections and test each function thoroughly. This attention to detail ensures reliable temperature control while helping you pocket significant savings compared to professional installation costs.
Your new Honeywell thermostat stands ready to deliver consistent comfort throughout your home. Should any issues arise after installation, refer back to our troubleshooting guide for quick solutions that keep your HVAC system running smoothly.